Author: Kopzhassarov Bakytzhan
Published: August 26, 2025
Welcome to our educational blog for teachers and students who enjoy building DIY kits like My Kit 150. This project marks the beginning of a new initiative to create affordable, hands-on radio kits designed to introduce the fundamentals of electronics.
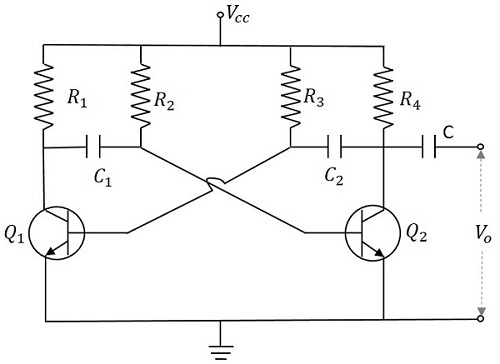
This is our very first kit in the series, developed to help students learn electronics by doing. The kit is built around a simple astable multivibrator circuit that learners can assemble, test, and understand. All the information is provided as open-source, so anyone can replicate the project and adapt it for their own needs.
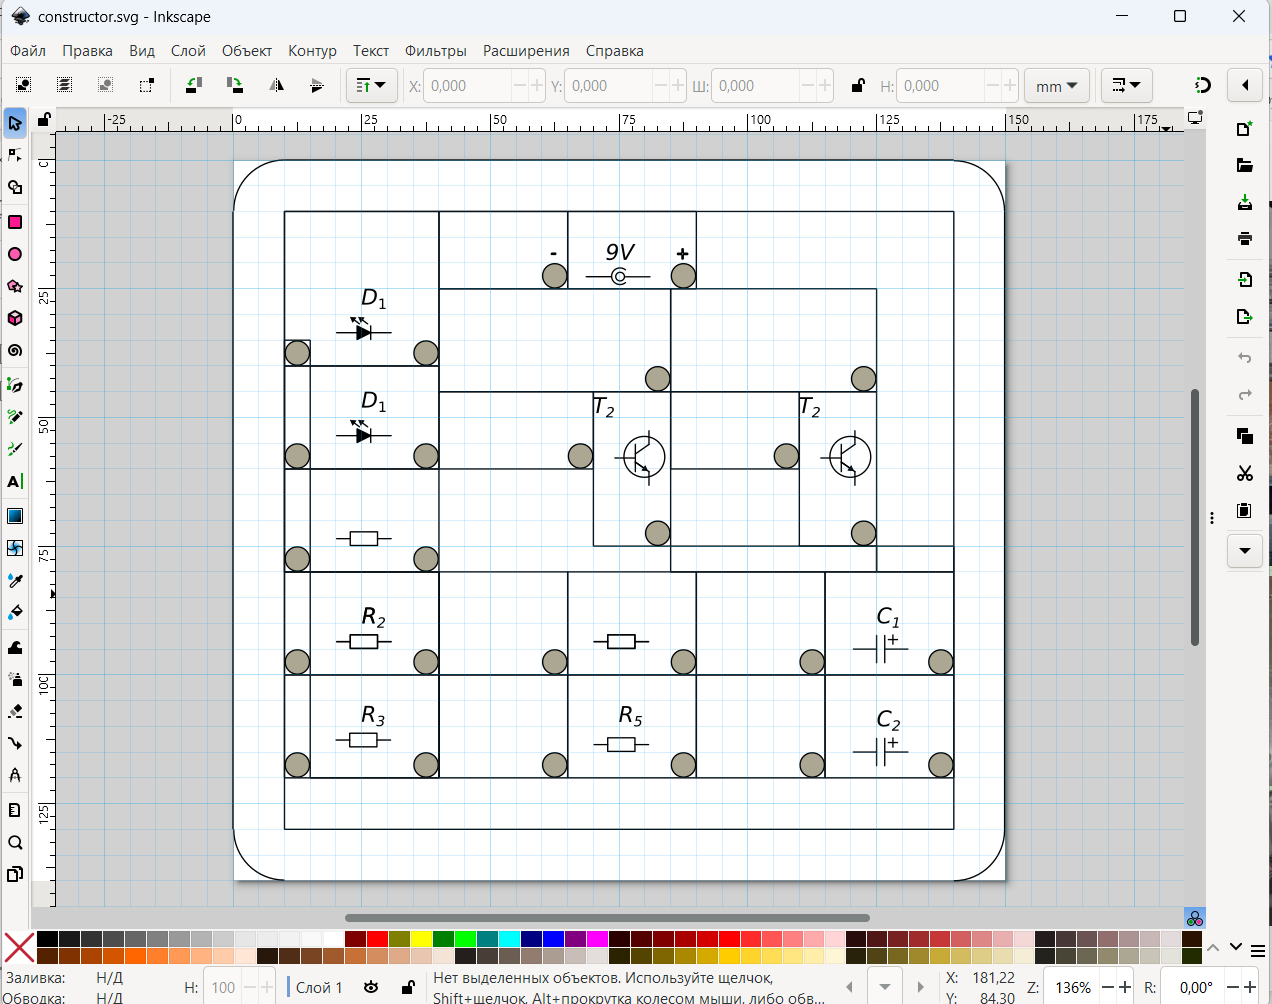
The initial design was created in Inkscape, as shown below.
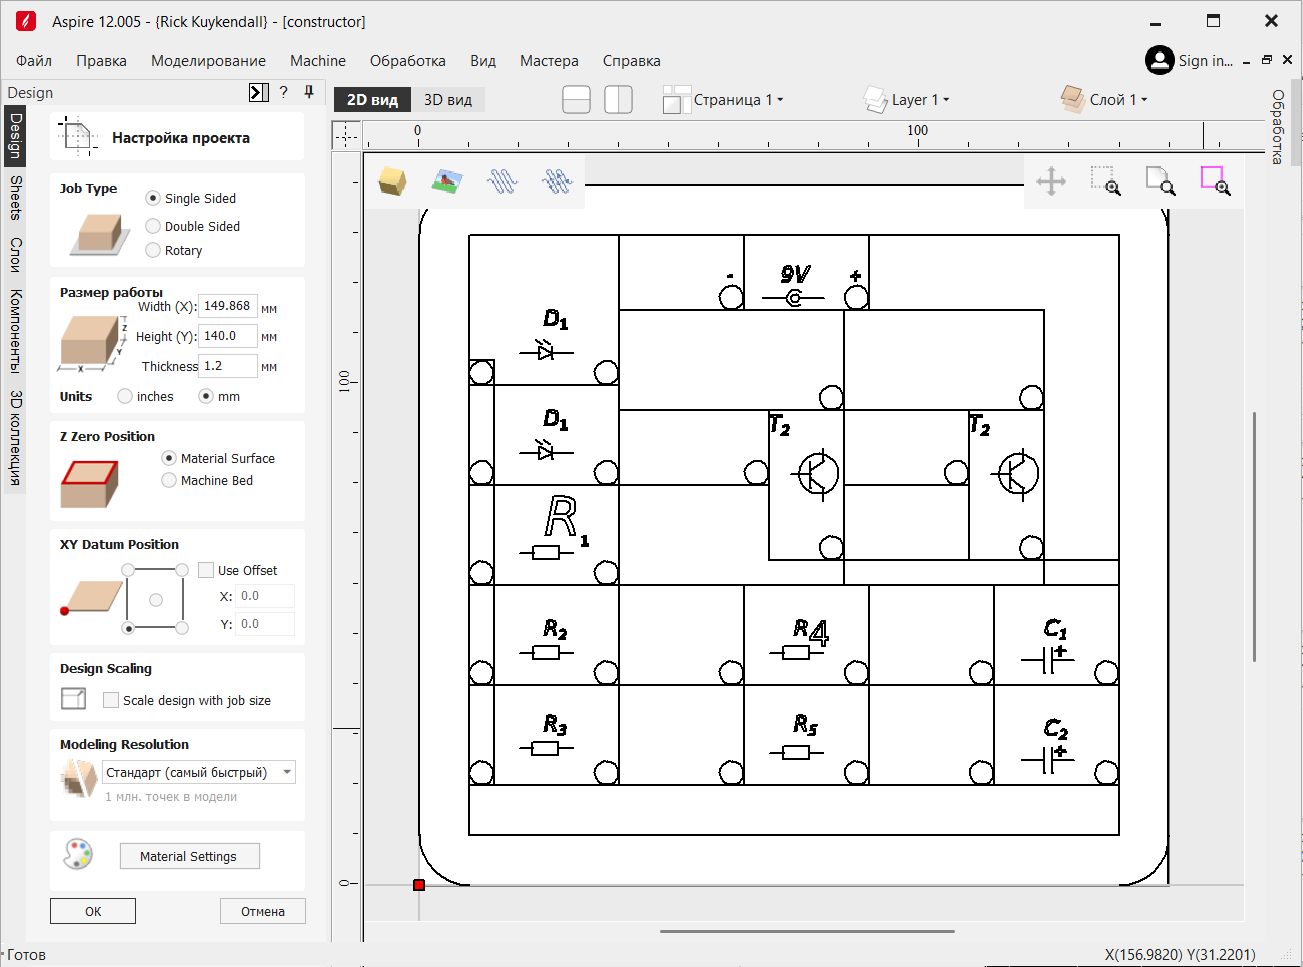
The next step was preparing the design for milling. The figure below shows the process of generating G-code in Aspire for the CNC 3018 machine.
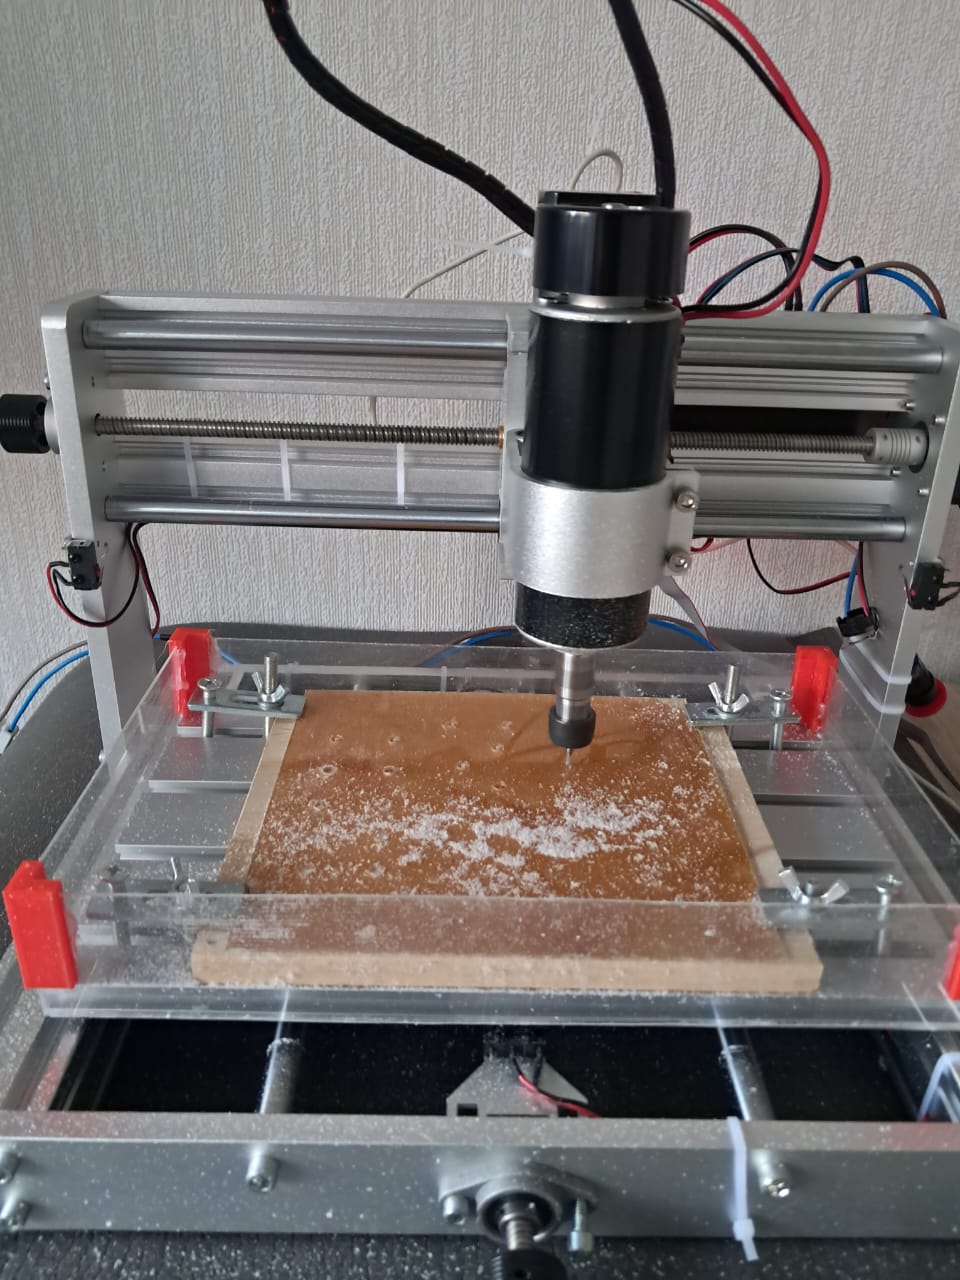
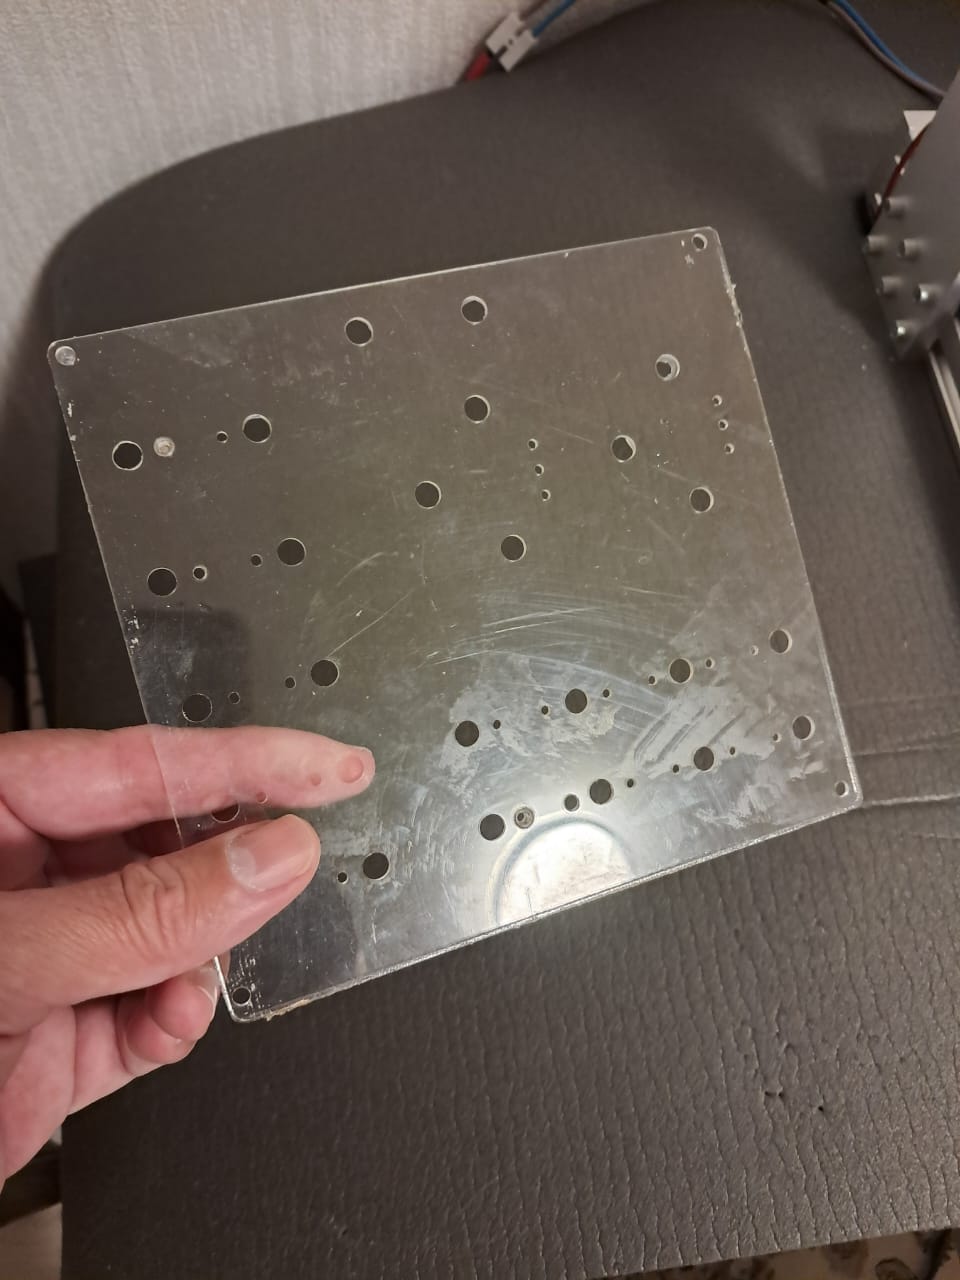
Once the G-code was ready, we milled the front panel using the CNC 3018. The panel was made from low-cost materials, making the kit affordable and classroom-friendly.
The heart of the kit is an astable multivibrator circuit, shown below. Building and testing this circuit gives students a hands-on way to explore timing, oscillation, and basic transistor operation.
If you’d like to try building this kit yourself, feel free to contact us at atzhal@yandex.ru with the subject line “constructor”. We’ll be happy to share extra resources and guidance.
To be continued…
My Kit 150 is a well-known educational electronics kit that lets learners build up to 150 different circuits without soldering. Thanks to its spring clamps, components can be connected quickly and safely, making it especially suitable for beginners, children, and students.
Most reviews of My Kit 150 are positive. Users often praise its educational value and ease of use. On platforms like Ozon, reviewers highlight the quality of the plastic and the stability of the assembled circuits, though some mention occasional issues with weak contacts. One reviewer wrote: “The plastic is solid, the contacts fit well, and the assembly holds together nicely—definitely a strong 4 out of 5.” Another noted: “The kit has 255 parts that connect easily, letting you create many interesting circuit combinations. Assembly is fun and engaging…” Overall, it’s an excellent starter tool for learning electronics.
Similar to My Kit 150, there are many other science-fair style kits that provide a wide variety of circuits in one box. For example, kits with 130-in-1 or 200-in-1 combinations offer a rich playground for experimentation. These kits usually come with a plastic base, a set of spring connectors, and illustrated guides that explain each project step-by-step.

Inside, students can find resistors, capacitors, switches, a speaker, transistors, and even a solar cell in some versions. The combination of components allows learners to create projects such as light-controlled alarms, simple radios, oscillators, and more. What makes these kits effective is that they remove the fear of soldering while still providing an authentic electronics learning experience.
For more on classic educational electronics kits, see Andy Page’s blog tag: Mykit System.
P.S. In the next post, coming on August 31, 2025, I’ll show you how to actually work with the radio kit step-by-step. Wish me luck so I can finish building it on time!
Today is September 2. I am glad to share the first results.
So far, I have uploaded the video. If you want to see the result, please skip to the end of the video.
On Sunday, I will write more information in text form about how a radio construction kit can be used to study the basics of radio electronics.